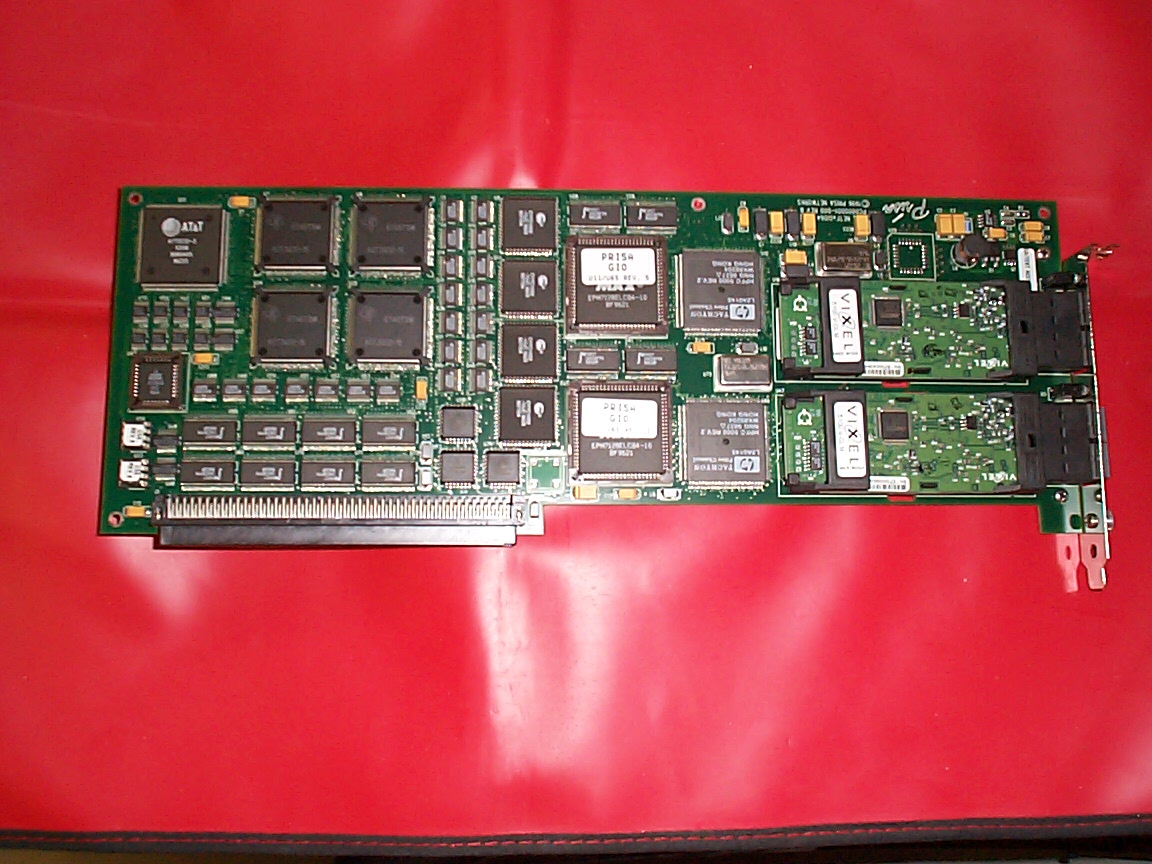
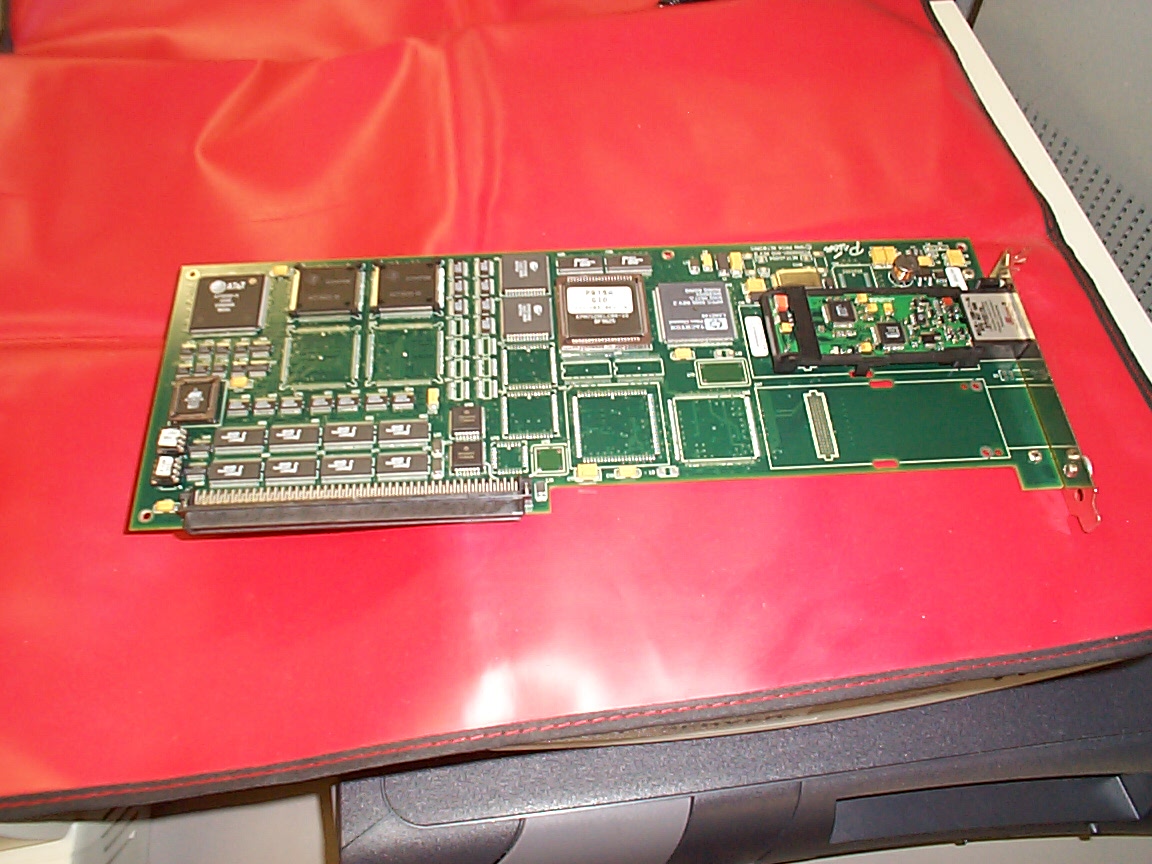
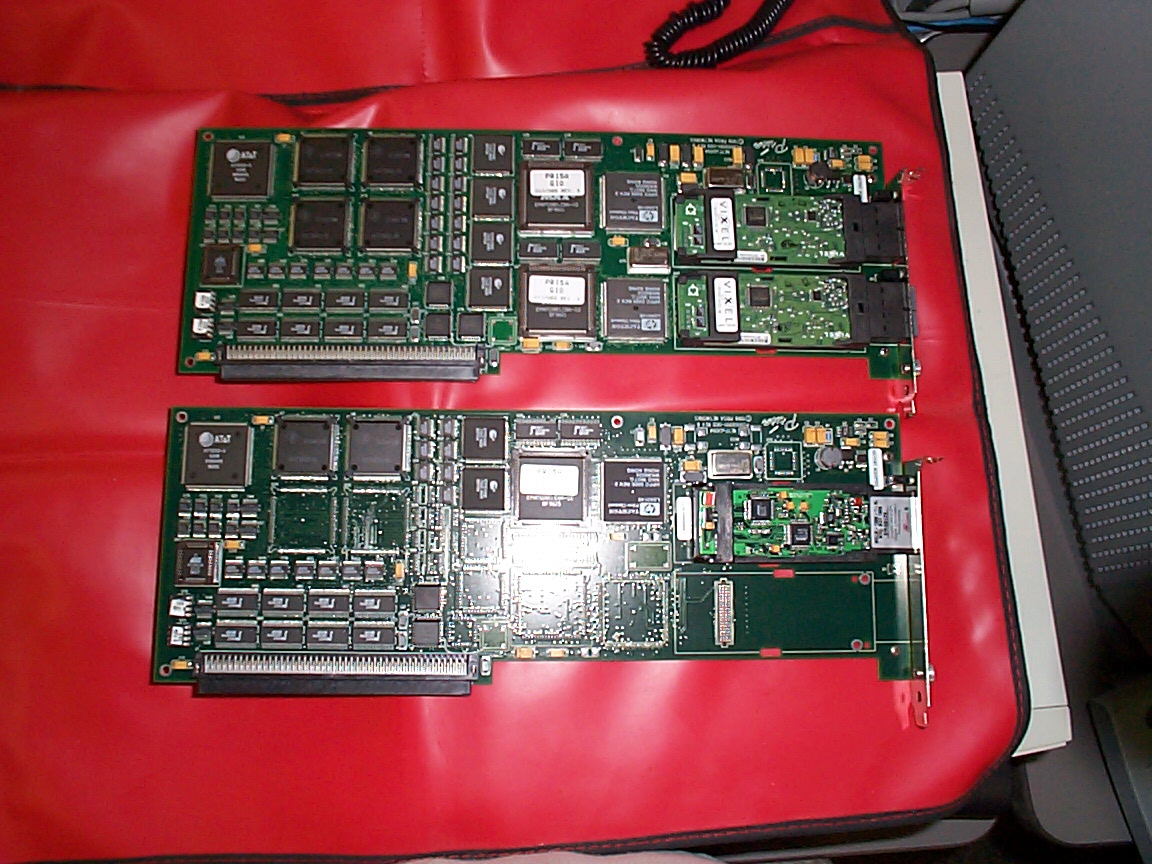
The Prisa NetFX GIO-64 Fibre Channel adapter is one of those rare cards that can make your Indigo2 work with high-speed FC storage. Here are some images:
Here are some initial references:
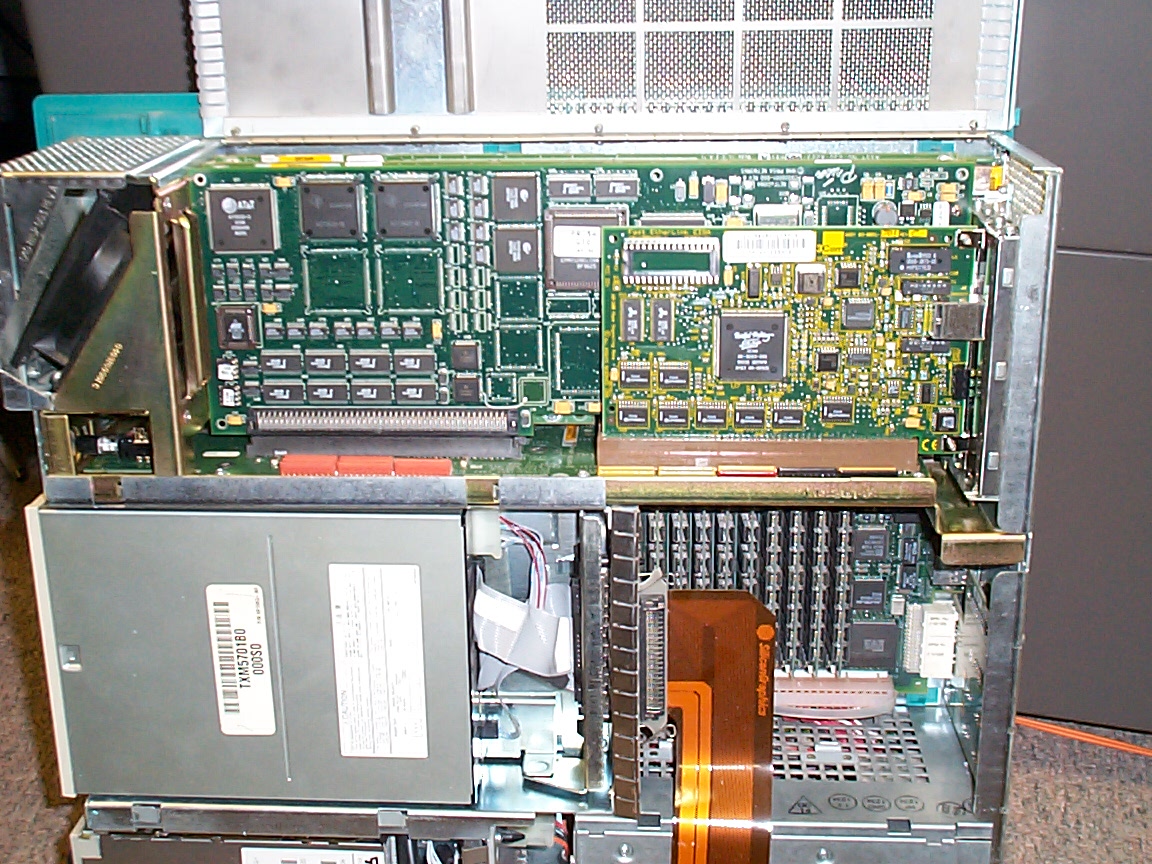
Step 1: Install the card
The directions in the install guide are pretty straightforward. Make sure you don't attempt GIO bus sharing with this card; it doesn't play well with others. Once it's installed, go ahead and put the drivers in as noted. The current (and I suspect final) version is 1.3.1 for GIO-64 cards. It has been demonstrated to work correctly with 6.5.17 / 18.
Step 2: Figure out your WWNs
Once you've rebooted, check out /var/adm/SYSLOG. It should contain the WWNs for your cards as well as the slot and channel numbering. Write them down, then go ahead and set up the zoning on your FC switch (if needed) and while you're at it, get the WWNs of your proposed targets. Sample:
Feb 10 12:20:21 6A:stilton unix: NetFX adapter slot 0 [2-E-00055]
Feb 10 12:20:21 6A:stilton unix: NetFX slot 0 channel 1 present, rev 2 wwn 100000607700xxxx
Step 3: Fix up /etc/NLPorts
The NLPorts file supplied with the drivers explains lots about how to configure for a loop but not for a switch. What they forgot to tell you is that you need an entry for YOUR board AND any target HBAs you may want to hit. So after you've done your zoning (you DID do the zoning, didn't you?) you'll want to put the following entries at the end of /etc/NLPorts:
10.00.00.60.77.00.xx.xx  1,0x00  gio_ch_1
xx.xx.xx.xx.xx.xx.xx.xx  1,0x00  fsd1
Replace the xx.xx in the first line with the appropriate address bytes for your card (from /var/adm/SYSLOG, above). The "1, 0x00" are the channel ID (leave it at 1 if you have a single-channel card, make it 2 for the second channel if you have one) and the loop ID (always "0" on fabric). The "gio_ch_1" is your name for the channel.
Do the same for the target HBA; give it a different name ("fsd1" in this example). This is the storage unit where your FC disks are.
If things don't work and you see in the traces (below) that you're doing strange stuff like using yourself as a name server, you probably messed up here.
Step 4: Fix up /etc/config/netfx.options
The netfx.options file sets up the adapter itself. You need to specify a number of non-obvious parameters above and beyond what's called out in the example. Here's a sample of what you may need:
adapt type=gio_single slot=0 position=0
    chan port=1 enable=yes npname=gio_ch_1 override=yes si=yes ip=no tpt=no fsd=yes \
         nport_option=(-a topology=StaticLink) \
         nport_option=(-a NameServer=yes) \
         nport_option=(-a RT_TOV=100) \
         nport_option=(-a ED_TOV=5000)
If you have a dual-channel adapter, replace the "gio_single" with "gio_dual" and add another section for the other channel. The slot number is available from /var/adm/SYSLOG (see above) and the position will always be 0 in an Indigo2.
The "npname" must match the channel name you assigned in NLPorts. As to the other options, leave them as above on a straight FC network, as with the nport_options (they're pretty standard and will keep you out of trouble on most setups). The space prior to the \ (line continuation character) is mandatory. Don't put any characters after the trailing slash.
Step 5: Fix up /etc/config/fsd.options
Now you'll need to define your disk devices. /etc/config/fsd.options does this in pretty much the same manner as netfx.options. The tricky part here is that the LUN number is called out in SCSI-3 format, so if you're using LUN 85 (hex), it'll look like this:
disk unit=2 npname=fsd1 devname=dsk777d2 lun=0x85000000000000
Make the "disk unit" unique. The npname should match what you put in NLPorts. By the way, the devname doesn't matter; it'll be dsk777d<disk unit> regardless of what you do. Under the "lun", you need all those zeros (pad it out to exactly 14 digits after the "0x"). Afterwards, make sure you have done the following as root:
chkconfig netfx on
chkconfig fsd on
That second line is called out as "chkconfig dks777d<unit> on" in the docs. I believe it's a typing error. It should be fsd.
Now you're ready to reboot. If, after you do, you get strange indications that your disk wants to be there but isn't (like it shows up on your desktop but you cannot build partitions) check that lun assignment. If it's not padded out correctly or not in hex, it'll act very weird.
Step 6: Build your partitions
If you've done everything right, when you boot, you'll see:
NOTICE: gio_ch_1 at NetFX slot 0 channel 1 up
hinv should show:
Integral SCSI controller 0: Version WD33C93B, revision D
  Disk drive: unit 1 on SCSI controller 0
  Tape drive: unit 4 on SCSI controller 0: DAT
  CDROM: unit 6 on SCSI controller 0
Integral SCSI controller 1: Version WD33C93B, revision D
  Disk drive: unit 2 on SCSI controller 777
Odd? Yes. That unit 2 on controller 777 is what you defined in fsd.options. Why it rings in on a WD33C93B controller is beyond me. Anyway, you have your disk now. Run:
/usr/NetFX/bin/fsdx -d dks777d2 -N -txfs -p0
which will define your disk with a new header (-N) using xfs (-txfs) and one big partition (-p0). Run mkfs to build a filesystem on it and then mount it:
mkdir /fcdisk
mount /dev/dsk/dks777d2s0 /fcdisk
Assuming this works, you're home free... rerun fsdx and set up the partitions the way you REALLY wanted them.
If you run into problems...
There's a nice FC trace utility included with the NetFX software. To use it:
/usr/NetFX/bin/trace -a

dd if=/dev/rdsk/fsd2\vol of=/dev/null count=1 2> /dev/null

/usr/NetFX/bin/trcstop
/usr/NetFX/bin/trcrpt > trace.out
The above will drive I/O to the disk defined in fsd.options and create trace.out which is a trace of your FC transactions. It can be quite useful in nailing down a communications problem.
Just for fun, we ran a quickie disktest. First the local system disk (10k rpm Seagate):
#---------------------------------------------------------
# Disk Performance Test Results Generated By Diskperf V1.2
#
# Test name     : Local
# Test date     : Tue Feb 11 09:17:36 2003
# Test machine  : IRIX64 stilton 6.5 07121149 IP28
# Test type     : XFS data subvolume
# Test path     : /disktest/destfile
# Request sizes : min=16384 max=4194304
# Parameters    : direct=1 time=10 scale=1.000 delay=0.000
# XFS file size : 92274688 bytes
#---------------------------------------------------------
# req_size  fwd_wt  fwd_rd  bwd_wt  bwd_rd  rnd_wt  rnd_rd
#  (bytes)  (MB/s)  (MB/s)  (MB/s)  (MB/s)  (MB/s)  (MB/s)
#---------------------------------------------------------
      16384    0.00    6.93    0.00    3.12    0.00    2.29
      32768    0.00    7.78    0.00    3.18    0.00    3.62
      65536    0.00    8.17    0.00    4.67    0.00    5.07
     131072    0.00    8.37    0.00    7.44    0.00    6.47
     262144    0.00    8.49    0.00    7.63    0.00    7.35
     524288    0.00    8.52    0.00    8.18    0.00    7.98
    1048576    0.00    8.56    0.00    8.39    0.00    8.34
    2097152    0.00    8.64    0.00    8.61    0.00    8.52
    4194304    0.00    8.78    0.00    8.81    0.00    8.77
This is pretty typical of a FastSCSI2 bus, which has a max of 10MB/sec. And now from the Prisa:
#---------------------------------------------------------
# Disk Performance Test Results Generated By Diskperf V1.2
#
# Test name     : FC Array
# Test date     : Tue Feb 11 09:22:06 2003
# Test machine  : IRIX64 stilton 6.5 07121149 IP28
# Test type     : XFS data subvolume
# Test path     : /symm/destfile
# Request sizes : min=16384 max=4194304
# Parameters    : direct=1 time=10 scale=1.000 delay=0.000
# XFS file size : 92274688 bytes
#---------------------------------------------------------
# req_size  fwd_wt  fwd_rd  bwd_wt  bwd_rd  rnd_wt  rnd_rd
#  (bytes)  (MB/s)  (MB/s)  (MB/s)  (MB/s)  (MB/s)  (MB/s)
#---------------------------------------------------------
      16384    0.00   19.91    0.00   19.33    0.00   19.23
      32768    0.00   28.06    0.00   28.15    0.00   28.02
      65536    0.00   36.76    0.00   36.80    0.00   35.45
     131072    0.00   40.59    0.00   43.51    0.00   41.64
     262144    0.00   45.54    0.00   46.78    0.00   46.66
     524288    0.00   50.30    0.00   50.38    0.00   50.44
    1048576    0.00   51.49    0.00   51.65    0.00   51.13
    2097152    0.00   51.88    0.00   52.52    0.00   52.58
    4194304    0.00   56.85    0.00   61.49    0.00   59.45
As you can see, the FC bandwidth is much higher than the Indigo2's internal FastSCSI2. Ideal for video work, faster application loading, etc. Note that one could obtain even better results by optimising the block size, tailored to the application, etc.
Good luck!
Jerome
(Have you found this page via a web search? Examine the index pages to see all the available items!) [Future Technology Research Index] [SGI Tech/Advice Index] [Nintendo64 Tech Info Index]